
I am super excited to bring you my new logo! A huge thanks to my wonderful brother-in-law, who has been working hard on designing it. (He is much more computer savvy than I am!) You will see it on my facebook page as well! I hope you all like it!
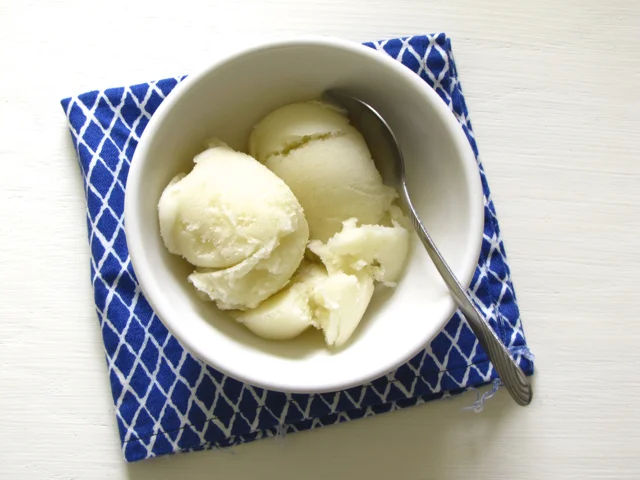
Today, I bring you a wonderful, delicious sorbet recipe. It is extremely simple, and yet incredibly satisfying. It’s funny how pears can be so finicky. In fact, I had these pears sitting on my counter for nearly three weeks before I got tired of looking at them and waiting for them to ripen. But, in the end, there is nothing better than a wonderful juicy pear!
This is a wonderful, refreshing dessert on a hot summer day. I usually have my dessert after lunch (am I weird?), because I don’t feel quite as guilty having it then because I don’t feel as if it will be sitting in my stomach while I am sleeping all night. Or maybe it gives me the excuse to have dessert twice a day? What!? No way. I would never….
Recipe from The Perfect Scoop, by David Lebovitz

Pear Sorbet
This pear sorbet is incredibly creamy and dairy free! Find the juiciest, ripest pears you can to make this irresistible dessert.
Ingredients
- 4 ripe pears, peeled and cored
- 1 1/4 cups water
- 2/3 cup sugar
- 1 teaspoon lemon juice
Instructions
- Cut the pears into 1-inch chunks. Put them in a large, nonreactive saucepan along with 1/2 cup of the water. Cover and cook over medium to high heat for 15 minutes, stirring occasionally, until the pears are cooked through and tender when poked with a paring knife.
- Transfer the cooked pears to a blender and add the remaining 3/4 cup water, sugar and lemon juice. Purée until smooth.
- Chill the mixture thoroughly, then freeze it in your ice cream maker according to the manufacturer's instructions.
